The Dutch Aquascape
Streets, contrast and disciplined trimming. Without them, a tank full of good plants reads as one green blur. Learn how Dutch style turns density into structure.
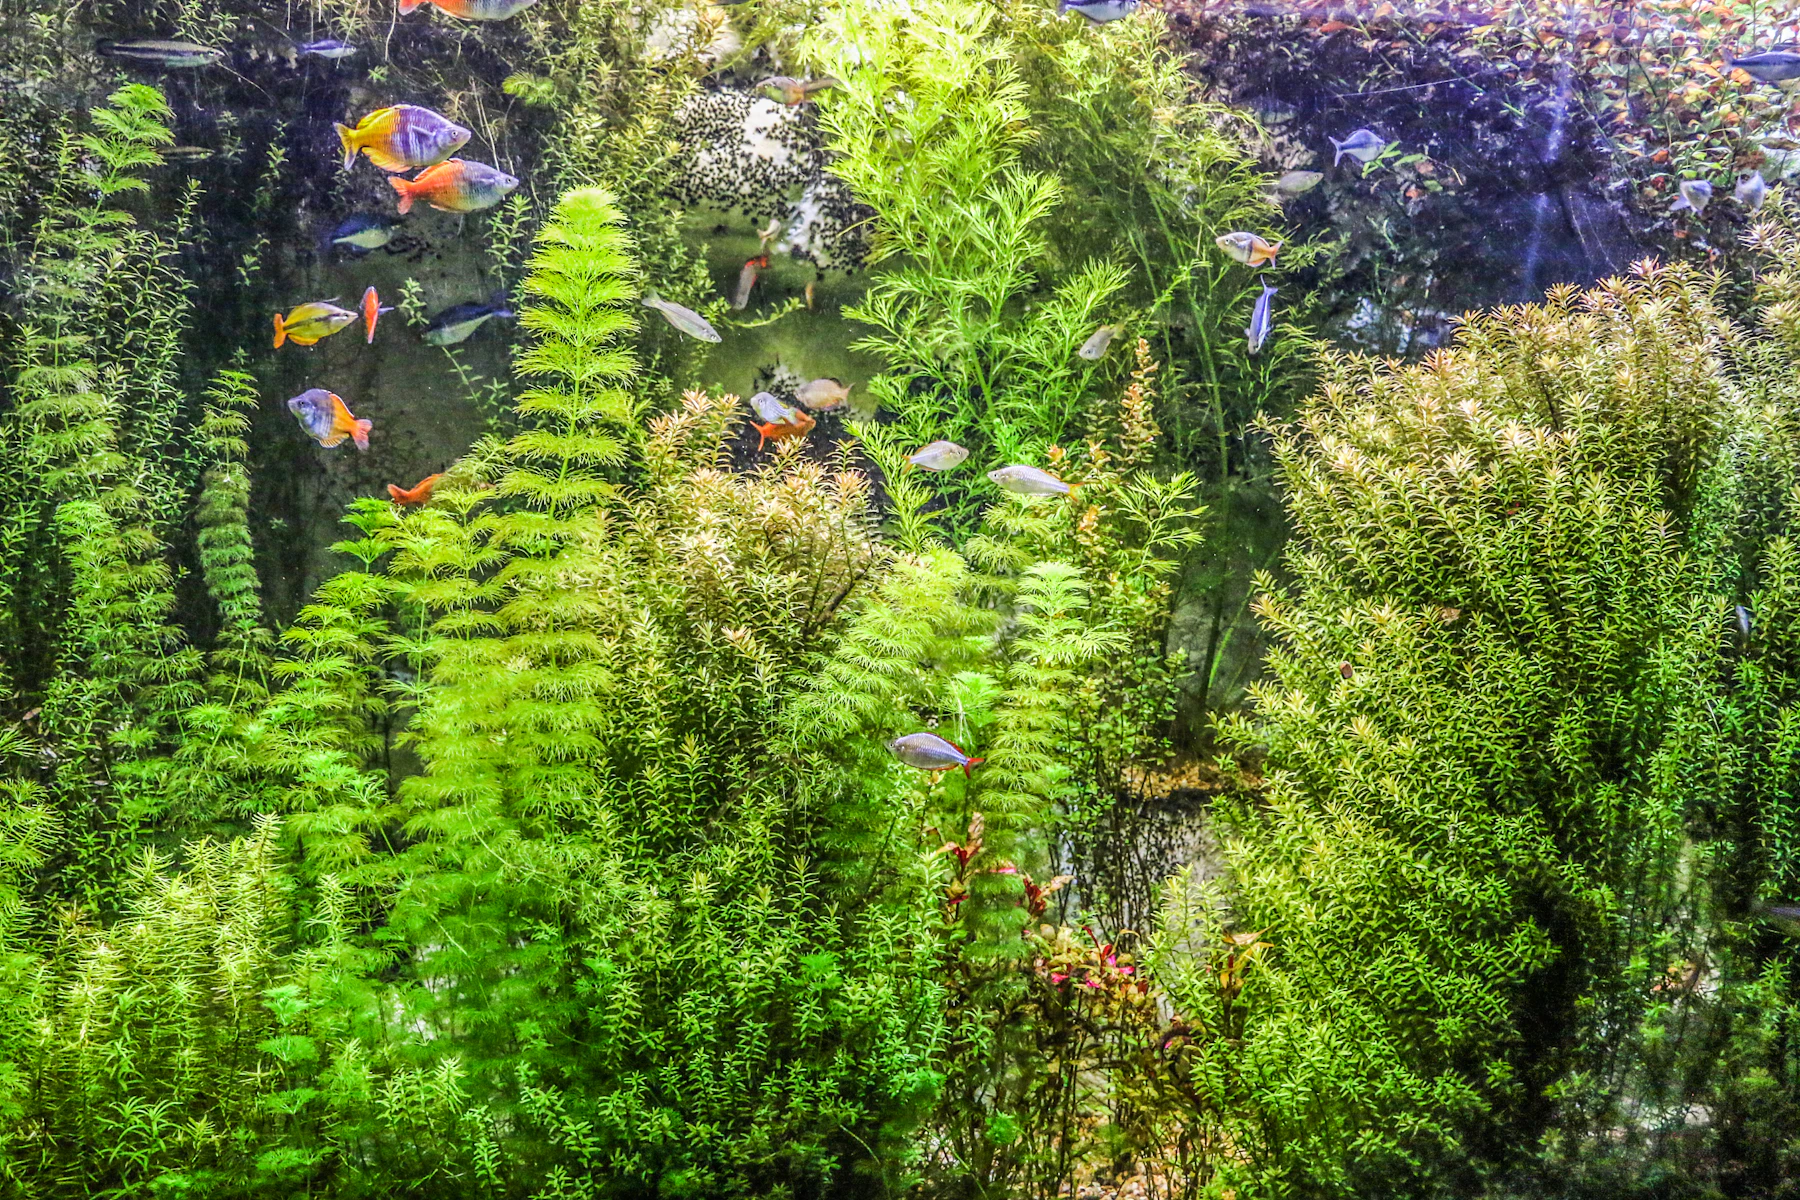
Photo by Michael Hystead on Unsplash
In this guide
A Dutch aquascape is not a planted tank with extra plants. It is a composition built almost entirely from plants, where colour, leaf shape, height, density and negative space do the work that stone and wood do in other styles.
The usual failure is a tank full of good plants that reads as one expensive green blur. Dutch style avoids that by giving every group a job, and then keeping it in that job as the aquarium grows. You are not collecting plants. You are arranging masses.
The plants are the hardscape
Most aquascaping styles start by asking where the rocks or wood should go. Dutch style asks a different question: which plant group should dominate this part of the frame, and what should sit beside it?
That changes everything. A tall feathery stem can become a background wall. A compact broad-leaved group can act like a visual boulder. A narrow strip of low plants can pull your eye into the distance, and a red stem group can become a focal point without a single stone in view.
This is why good Dutch tanks look dense without looking random. The plants are not filling available space. Each group has a compositional job, and you can usually name it.
Traditional Dutch layouts use little visible rock or wood, or none at all. Modern interpretations do not forbid hardscape, but once a branch or stone becomes the main event, the tank starts moving away from the logic that makes the style distinctive.
The useful mental model is simple. Treat every plant group as a shape before you treat it as a species.
Contrast is the organising principle
A Dutch tank can hold many species, but variety only works when neighbouring groups stay visually distinct. Put two fine-leaved green stem plants beside each other and they merge into one vague green mass. Put a narrow, feathery plant beside something with broad, rounded leaves and the border becomes obvious.
Similar neighbours merge
Contrast draws the border
Colour works the same way. A red group gains strength when quieter greens surround it. Five red groups scattered across the tank stop behaving like accents and start behaving like noise.
The strongest contrasts combine several differences at once:
- fine leaves beside broad leaves
- pale green beside deep green
- upright growth beside arching growth
- compact foliage beside loose foliage
- red or bronze beside green
- low mass beside tall mass
This is where buying plants one at a time quietly sabotages a layout. A plant can be beautiful on its own and still be the wrong neighbour, so choose groups as pairs and sequences. Before a species goes in, look at the leaf shape, colour, growth habit and eventual height of whatever will grow on either side of it.
Most people believe Dutch style is mainly about collecting many colourful plants. That gets the emphasis backwards. It is about controlling difference.
Plant streets manufacture depth
The most recognisable Dutch device is the plant street. A street is a planted group that starts relatively broad towards the front or middle of the aquarium and narrows as it travels towards the back. Your eye follows the narrowing shape into the tank, which creates a sense of distance far greater than the real depth of the glass.
The plant does not need to form a literal straight road. A rigid strip often looks artificial. The stronger version bends, slips behind another group, or changes height as it recedes.
Tapering street, ending at a red group
Parallel strip to the back glass
Front glass at the bottom of each drawing.
Species with compact stems, repeatable growth and leaves that stay visually distinct are the most useful. Classic Dutch examples include Lobelia cardinalis and Bacopa, and modern layouts use a much wider range. The species name matters less than whether the plant can hold the shape.
A street also needs a destination. Let it lead towards a focal group, a darker background mass or an area of open water. If every group points somewhere different, depth turns into traffic.
Restraint matters more than abundance
Dutch aquascapes have a reputation for using many species, which tempts beginners to buy one of everything. That is how a botanical collection happens. It is not how a strong composition happens.
Repeating similar colours, textures or leaf forms side by side weakens the layout, and adding another species because there is an empty patch usually makes things worse. Empty space is doing a job. A gap between groups creates separation. Open water gives a tall plant somewhere to lean visually, and a low foreground lets the denser middle and back feel deeper. Even in a heavily planted tank, not every centimetre needs a different plant.
A useful test is to look at your aquarium from several metres away. If the first impression is a set of separate coloured patches with no hierarchy, there are probably too many competing groups. If a few large shapes read clearly first, and the detail only appears as you walk closer, the composition is working.
The tank should reveal complexity. It should not announce all of it at once.
Focal plants should earn attention
Dutch layouts often use a red, bronze, large-leaved or unusually textured plant as the focal point. The easiest mistake is using too many of them. If every red plant is treated as a focal plant, there is no focal point.
Place your strongest accent away from the centre. The rule of thirds helps here, not because an aquarium needs mathematical obedience, but because off-centre emphasis usually feels more alive than a target in the middle.
The focal group also needs support. Put calmer plants around it, give it enough open space to keep its outline readable, and keep any equally strong colour or texture away from its edges.
Some plants demand attention on their own. Large Nymphaea leaves, strong Alternanthera colour, Crinum foliage or a sharply textured group can dominate a scene very quickly. That can be useful. It can also turn the rest of the aquarium into a backdrop for one plant that looked impressive at the shop.
Use the strongest plant deliberately, not democratically.
Supporting mass
Deep green, left of centre.
Quiet transition
Paler and lower, so it steps down.
Off-centre focal group
The only red, ringed.
Open water
Space on the right keeps its edge.
Trimming is part of the design
A Dutch tank is not finished when it is planted. It is finished briefly, and then it grows out of shape. Stems change height, side shoots thicken groups, foreground plants creep across borders, faster species shade slower ones, and the clean separations that made the design work start to disappear.
Trimming is therefore not just maintenance. It is composition.
For a dense rounded group, repeated topping encourages branching and a fuller bush. For a plant street, removing older lower stems and replanting healthy tops preserves a cleaner line and resets the group before its base turns bare or congested. Different plants need different treatment, which is one reason Dutch tanks demand more horticultural attention than their calm appearance suggests.
Do not trim every group to the same height. A row of equally level bushes looks like a hedge display.
Different heights and outlines
One cut line everywhere
Keep the differences in height and silhouette instead. Let one mass sit low, another rise behind it, and a third break the line entirely. After a major trim the aquarium may look worse before it looks better. That is normal, and aquatic plants have not read your composition plan.
The tank should reveal complexity. It should not announce all of it at once.
Choose plants by growth behaviour
Choosing plants by colour alone is an expensive way to get confused. Before you add a species, ask how it grows under your actual conditions.
A fast stem beside a slow rosette will overwhelm it. A species that sends runners across the substrate will not respect a clean border. A plant that drops its lower leaves when shaded can look excellent for a few weeks and then leave an ugly bare base inside a carefully shaped street.
Useful Dutch plants tend to have at least one of these qualities:
- a predictable growth habit
- a distinctive leaf shape
- a colour that contrasts clearly with its neighbours
- a good response to pruning
- enough density to form a readable mass
- a height suited to its intended layer
You do not need every classic Dutch plant simply because it appears in old photographs. Water chemistry, light, CO₂, temperature, tank depth and the time you have for maintenance still decide whether a plant will actually look good. A healthy common plant is more useful than a struggling rare one.
The maintenance load is the real entry fee
Dutch style can look almost effortless in photographs. The effort happened before the photograph.
Dense stem growth uses nutrients quickly. Strong lighting and CO₂ are common in modern examples because they keep growth compact and colour strong, but faster growth also means more trimming and more nutrient demand. More speed is not automatically better. If your maintenance is irregular, choose slower species and moderate the light. A slower tank that holds its shapes beats a high-output one that looks perfect for two days and overgrown for the next twelve.
The usual maintenance problems arrive in this order:
- Fast groups invade slower neighbours. Borders disappear first.
- Lower leaves become shaded. Dense stems look good from the top while going bare underneath.
- One colour starts dominating. Red or pale plants expand until the original balance is gone.
- Plant streets lose their taper. Growth turns a deliberate line into a rectangular block.
- The owner postpones trimming because the tank still looks acceptable. This is how the previous four become a weekend project.
Prune before the layout collapses, not after. Dutch style rewards small corrections made early.
A workable way to build one
Start on paper before you buy a single plant.
- Divide the tank into foreground, middle and background areas, without turning them into three obvious horizontal bands.
- Choose one main focal plant or group and place it off centre.
- Add contrasting groups around it, checking leaf shape as carefully as colour.
- Plan one strong plant street that narrows or disappears towards the back.
- Leave deliberate gaps between important groups instead of filling every opening.
- Assign plants by mature height and growth behaviour, not by their size in the shop.
- Plant each species as a clear mass. Scattered single stems weaken the effect.
- Let the tank establish before judging the composition. New groups rarely show their final shape.
- Trim with the intended silhouette in mind, keeping heights different and borders clean.
- Remove any plant that refuses to fit. Buying it does not create a lifelong obligation.
The best Dutch aquascapes are dense but legible. You can pick out each group, yet the tank still reads as one composition, and trimming makes the plants look as though they chose those shapes naturally.
They did not. That is the trick.
Shape the bed before the plant order.
Sculpt the substrate slope and try where the tallest mass and the open foreground should sit. The builder has a small plant catalogue today, so use it to plan space rather than species.
Open the builder